

Table of contents
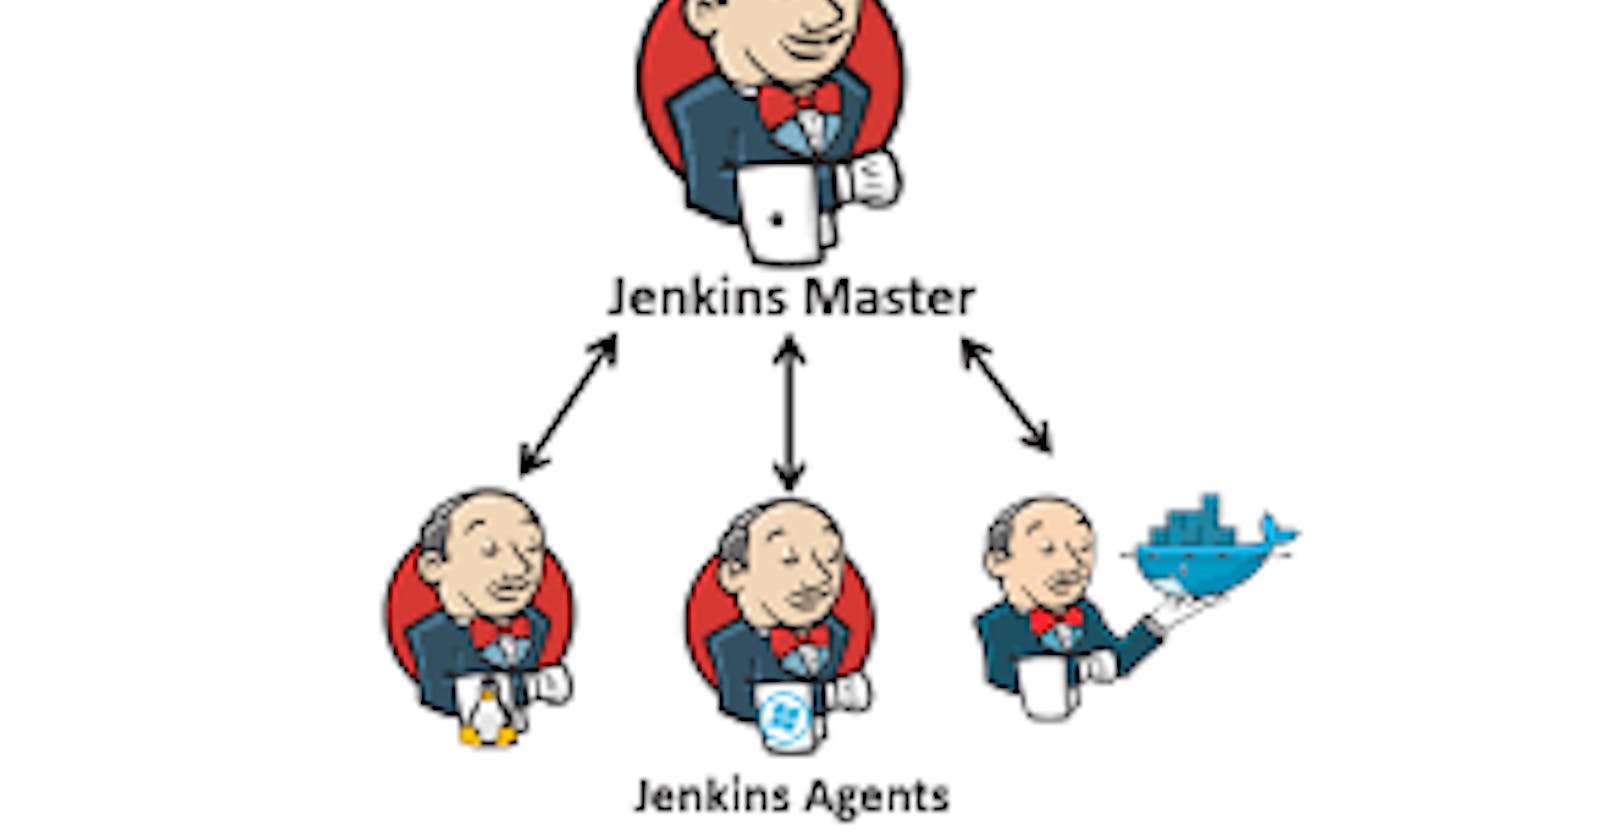
Jenkins Master (Server)
Jenkins’s server or master node holds all key configurations. The Jenkins master server is like a control server that orchestrates all the workflow defined in the pipelines. For example, scheduling a job, monitoring the jobs, etc.
Your main Jenkins server is the Master. The Master’s job is to handle:
Scheduling build jobs.
Dispatching builds to the slaves for the actual execution.
Monitor the slaves.
Recording and presenting the build results.
A Master instance of Jenkins can also execute build jobs directly.
Jenkins Agent
An agent is typically a machine or container that connects to a Jenkins master and this agent executes all the steps mentioned in a Job. When you create a Jenkins job, you have to assign an agent to it. Every agent has a label as a unique identifier.
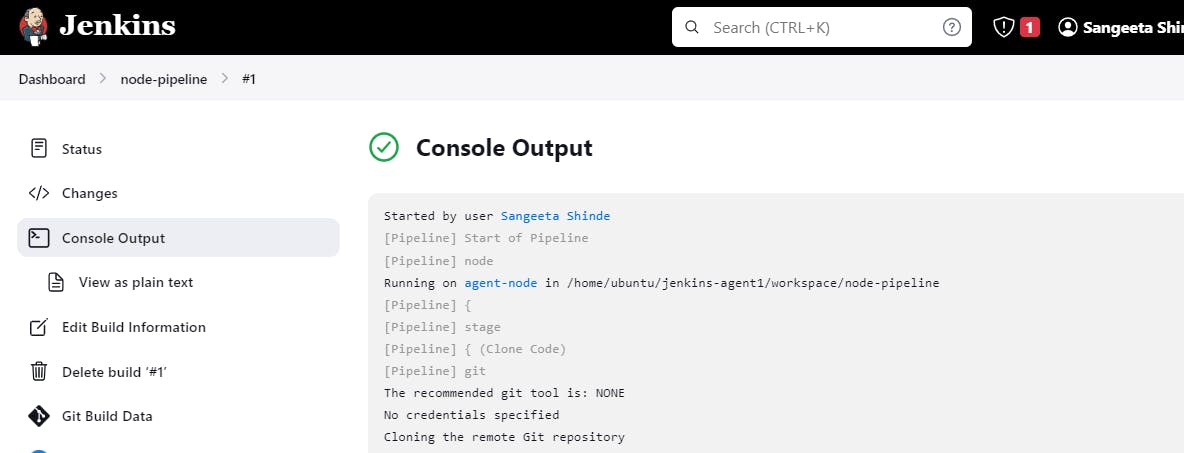
When you trigger a Jenkins job from the master, the actual execution happens on the agent node that is configured in the job.
A single, monolithic Jenkins installation can work great for a small team with a relatively small number of projects. As your needs grow, however, it often becomes necessary to scale up. Jenkins provides a way to do this called “master to agent connection.” Instead of serving the Jenkins UI and running build jobs all on a single system, you can provide Jenkins with agents to handle the execution of jobs while the master serves the Jenkins UI and acts as a control node.

Task-01
Create an agent by setting up a node on Jenkins
Create a new AWS EC2 Instance and connect it to the master(Where Jenkins is installed)
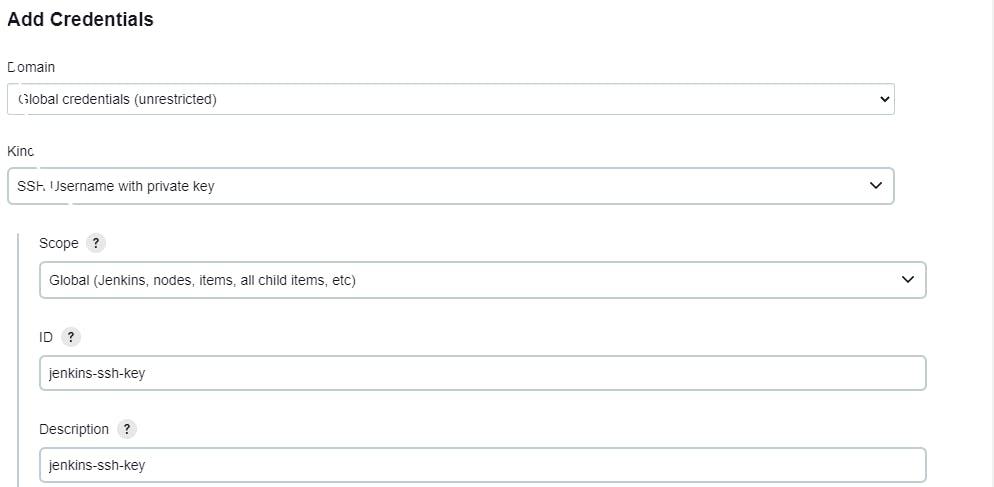
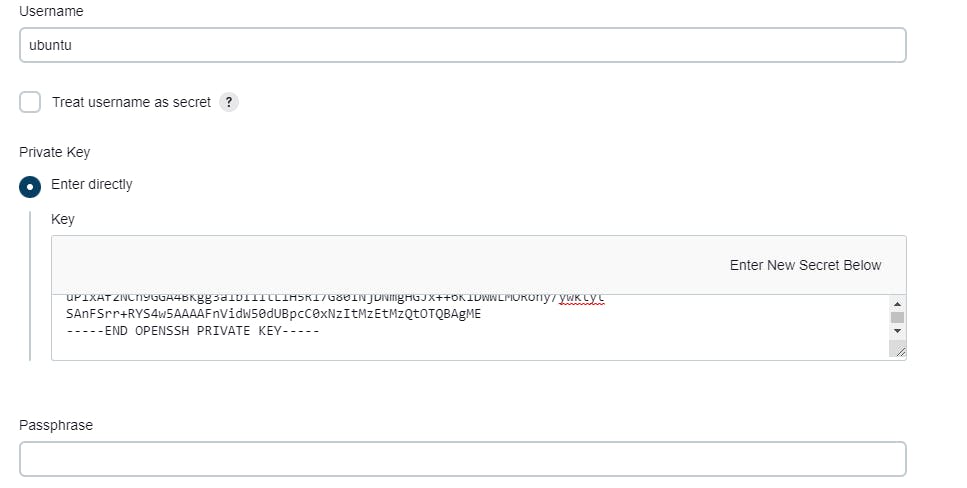
The connection of the master and agent requires SSH and the public-private key pair exchange.
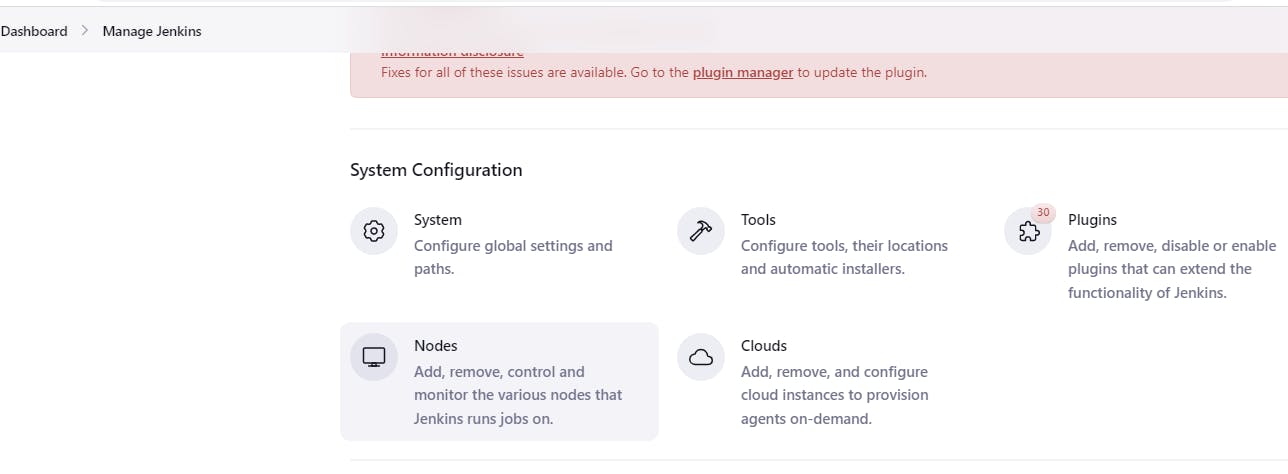
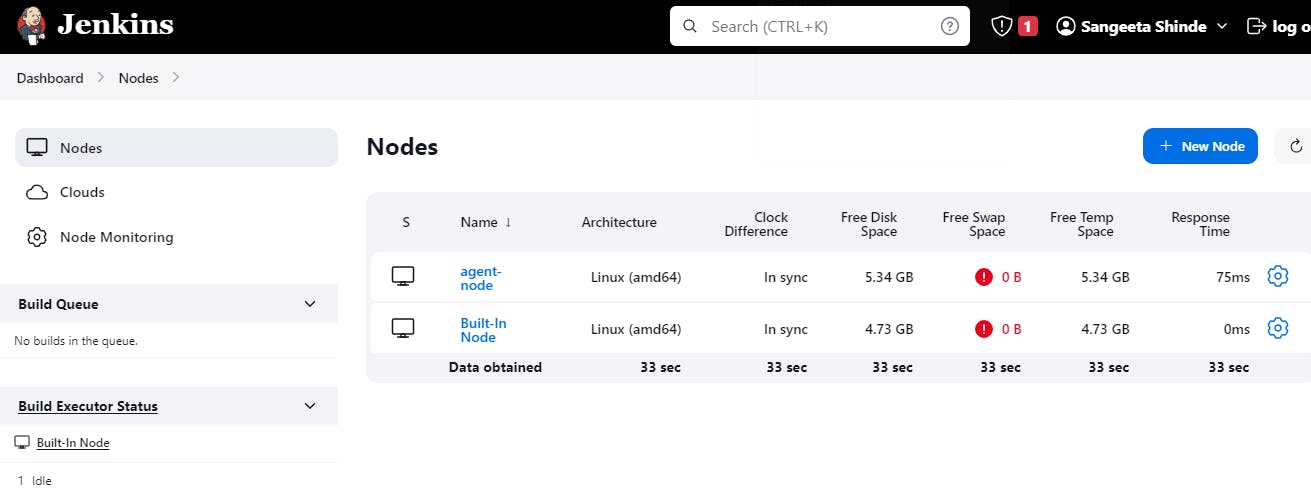
Verify its status under the "Nodes" section.
Create a new AWS EC2 Instance and connect it to the master(Where Jenkins is installed)
Step 1: Create a new server named Jenkins Agent and we already have Jenkins master server.

The connection of the master and agent requires SSH and the public-private key.
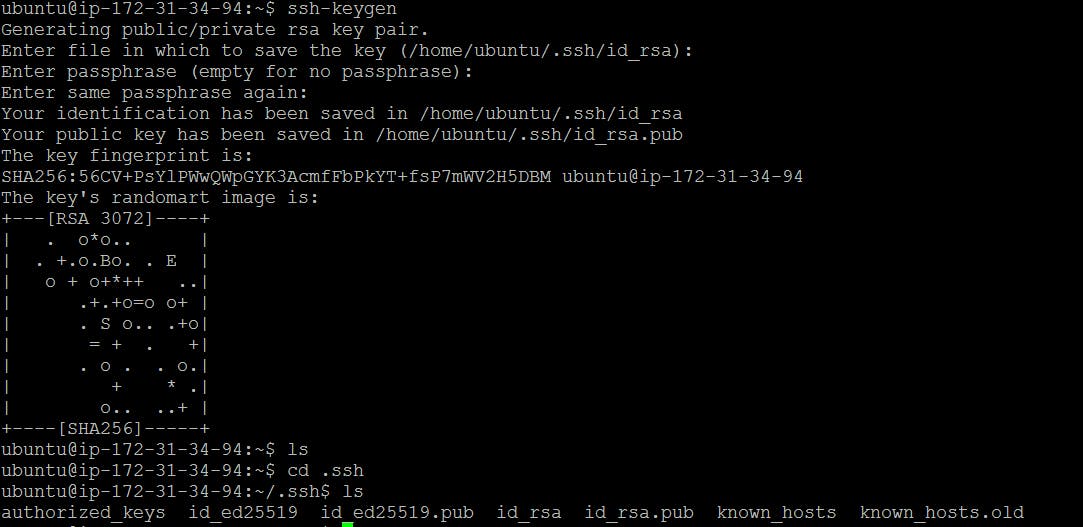
Step 1: Generate SSH keys on Jenkins-master by running ssh-keygen and do ls to see the private and public key.
Step 2: Now go to the Jenkins-agent's .ssh/ folder and paste the public key of Jenkins-master in .ssh/authorized_keys.

Step 3: To check whether the master and agent servers are connected or not.
Go to Jenkins master server and type ssh ubuntu@(ip-address-of-jenkins-agent-server).

Step 4: Create an agent by setting up a node on Jenkins
Add details of your node
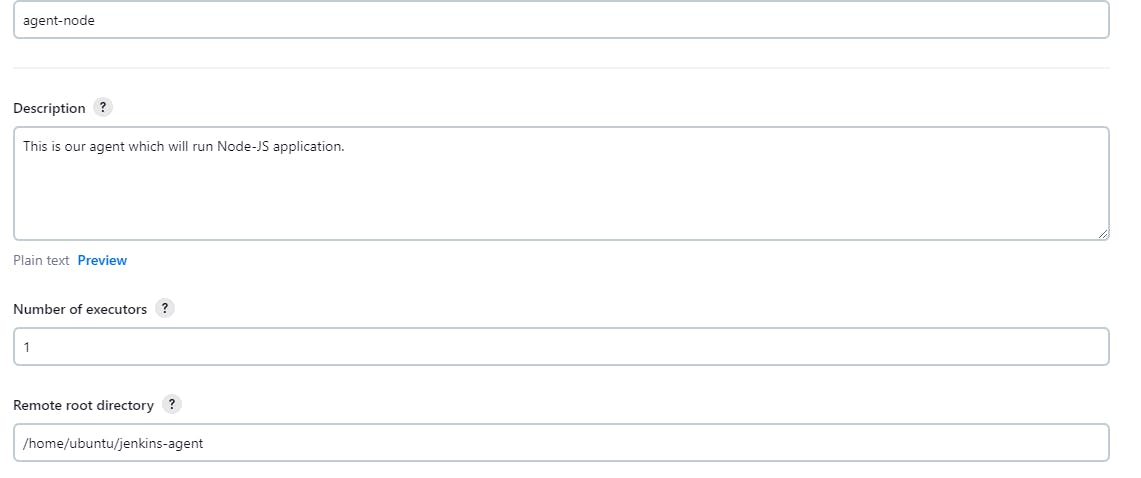
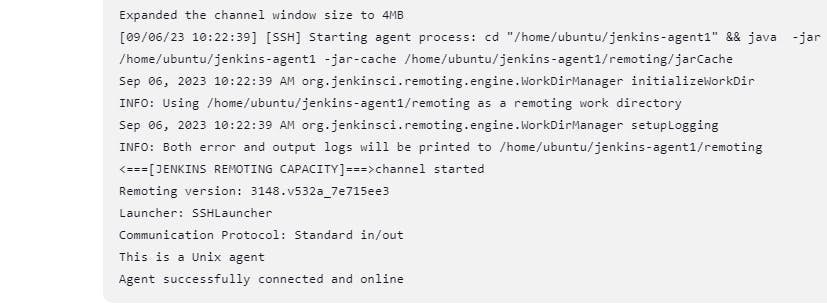
Select the launch method as “Launch agents via SSH”. Give the public IP of the agent in the host field.
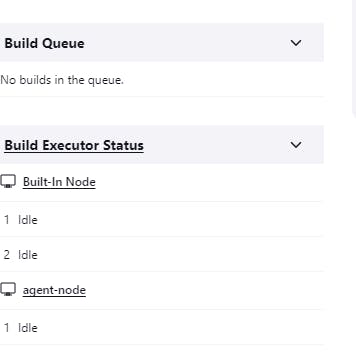
Click on 'save' that will create a node. You can see agent will be connected and online. Your agent is ready.
Task-02
Run your previous Jobs on the new agent
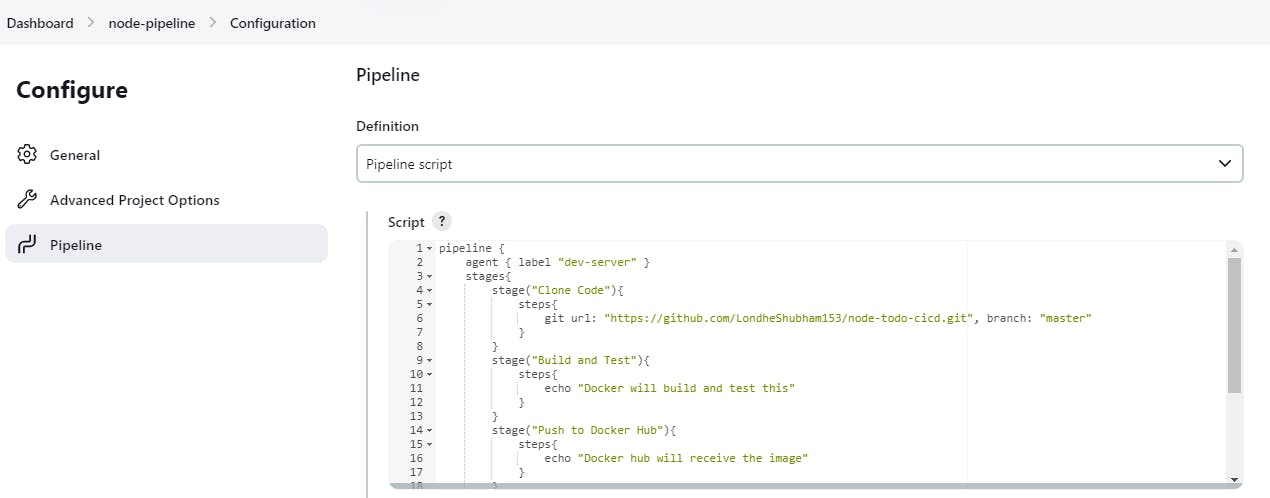
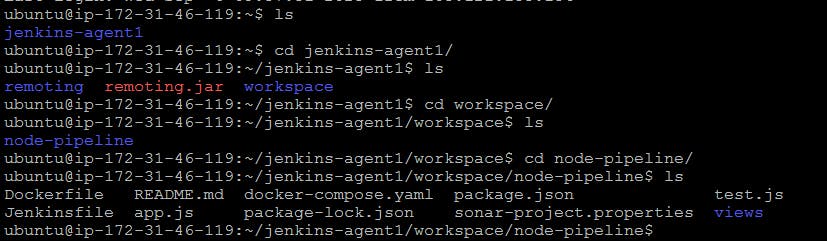
- As we have seen in Day 27 blog about the declarative pipeline project, here we will be deploying the same in the agent node.

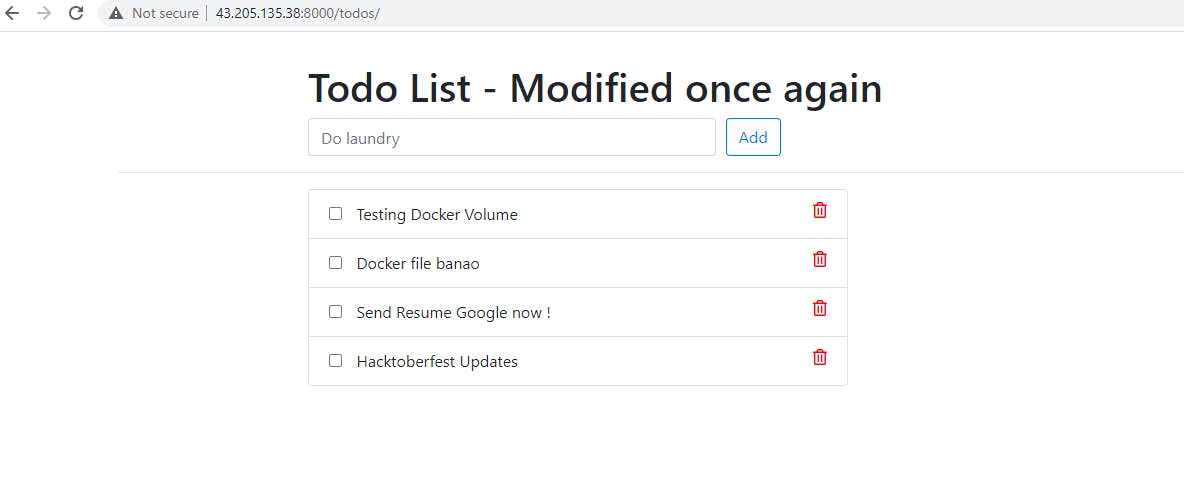
Now access the deployed app with the agent-node IP Address and Port in the browse
Thank you for reading!!!!