Day 22 : Getting Started with Jenkins

What is Jenkins?
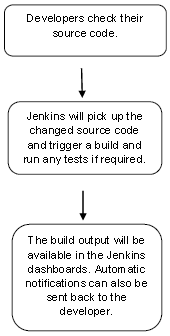
-Jenkins is an open-source automation tool written in Java programming language that allows continuous integration.
-Jenkins builds and tests our software projects, which continuously makes it easier for developers to integrate changes to the project, and makes it easier for users to obtain a fresh build.
-It automates the process of integrating code changes into a shared repository(CI).
-It facilitates the automatic deployment of code changes to production/staging(CD).
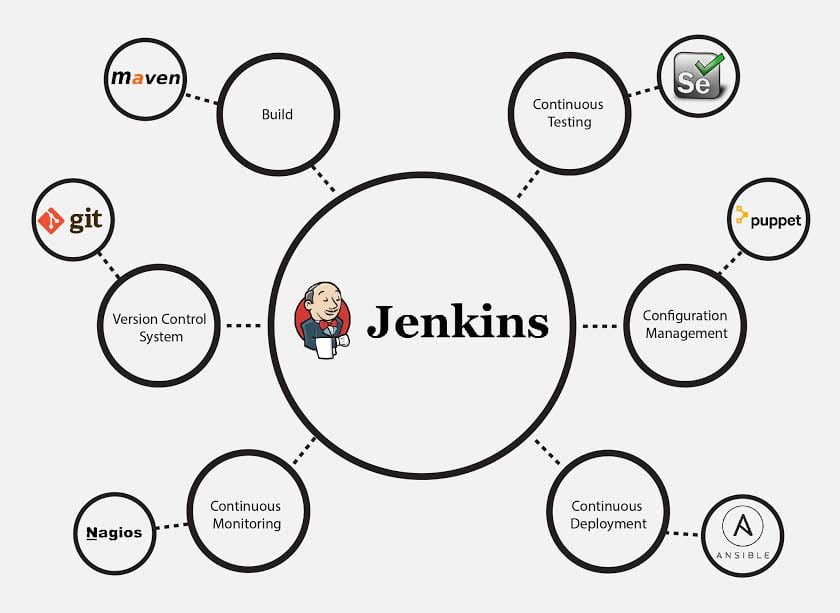
-Jenkins adds development life-cycle processes of all kinds, including build, document, test, package, stage, deploy static analysis and much more.
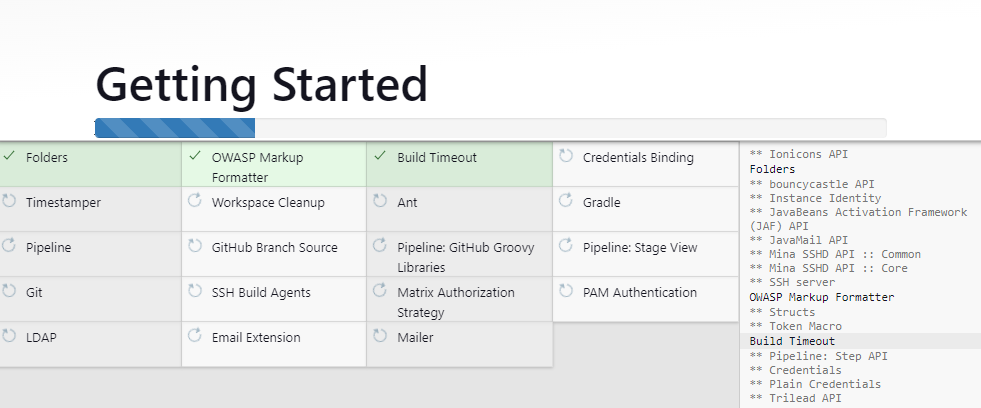
-Jenkins achieves CI (Continuous Integration) with the help of plugins.
How and where it is used:
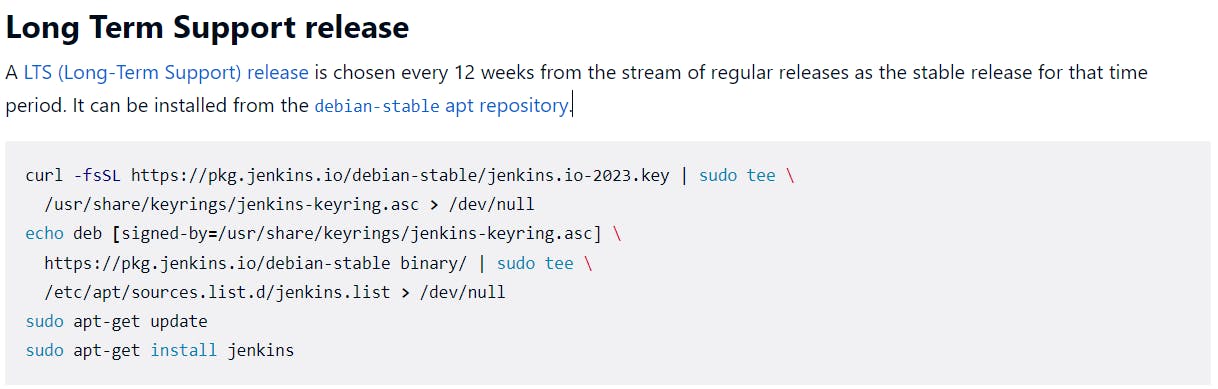
How To Install:-
Step 1: Checking Java before you start, you need to make sure your computer has Java installed. Think of Java as the engine that powers Jenkins.
Check the version of Java: $java -version


Step 2: Installing Jenkins
Step 3: Checking Status :
To check the status you can run service jenkins status

Step 4: Accessing Jenkins
Open your web browser.
In the address bar at the top, type:
http://localhost:8080and press Enter.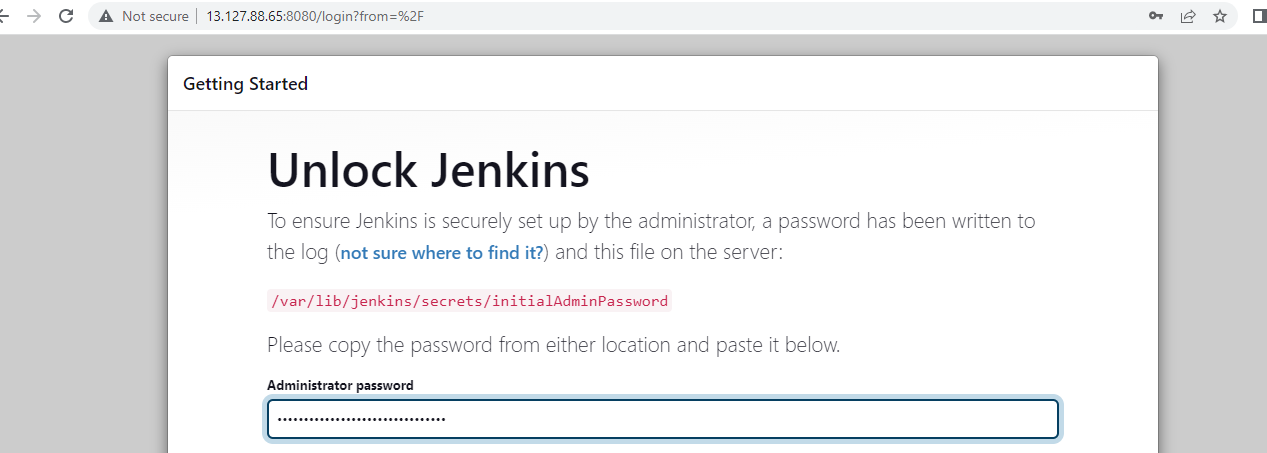
A page will appear asking for a password. To find the password, go back to the terminal and type:
sudo cat /var/lib/jenkins/secrets/initialAdminPassword

Copy the password from the terminal and paste it.

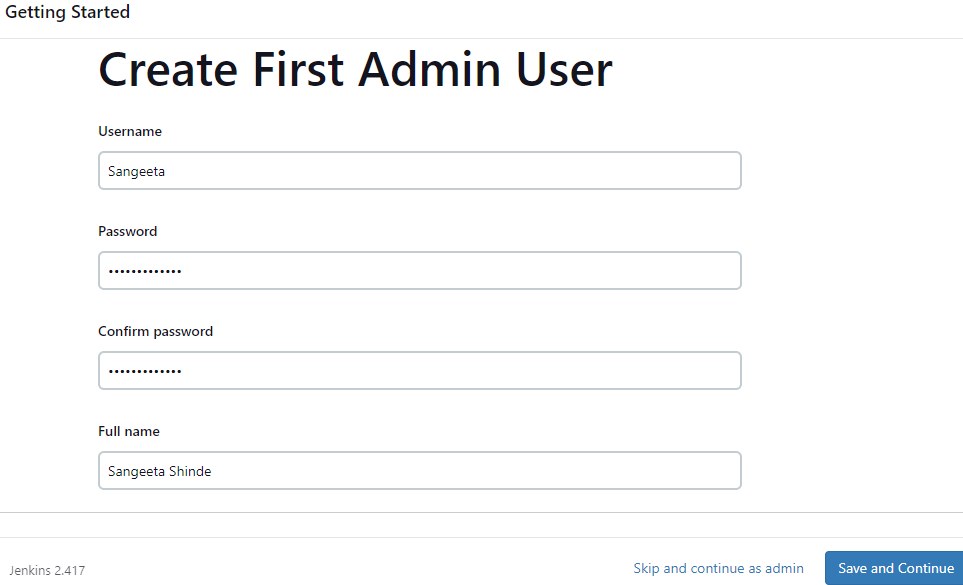
Follow the instructions and create the first admin user.
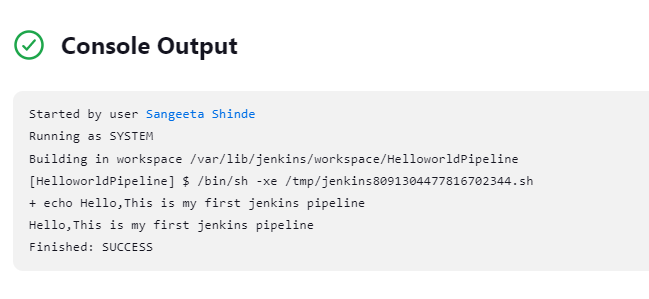
Create a freestyle pipeline to print "Hello World!!
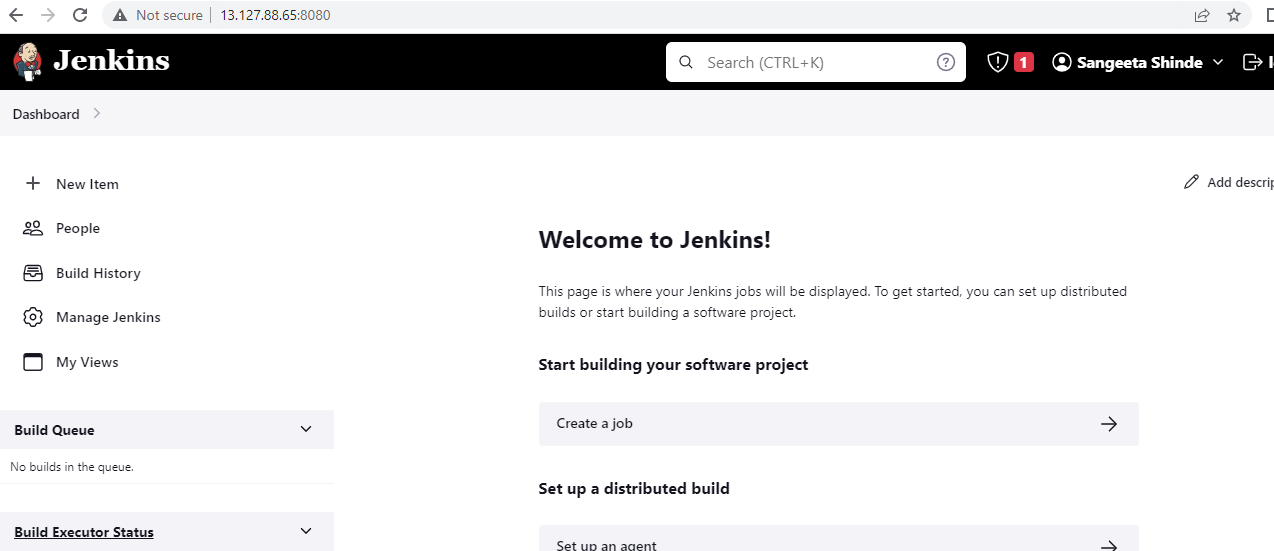
Log in to Jenkins and navigate to the main dashboard
Click on the "New Item" button on the sidebar
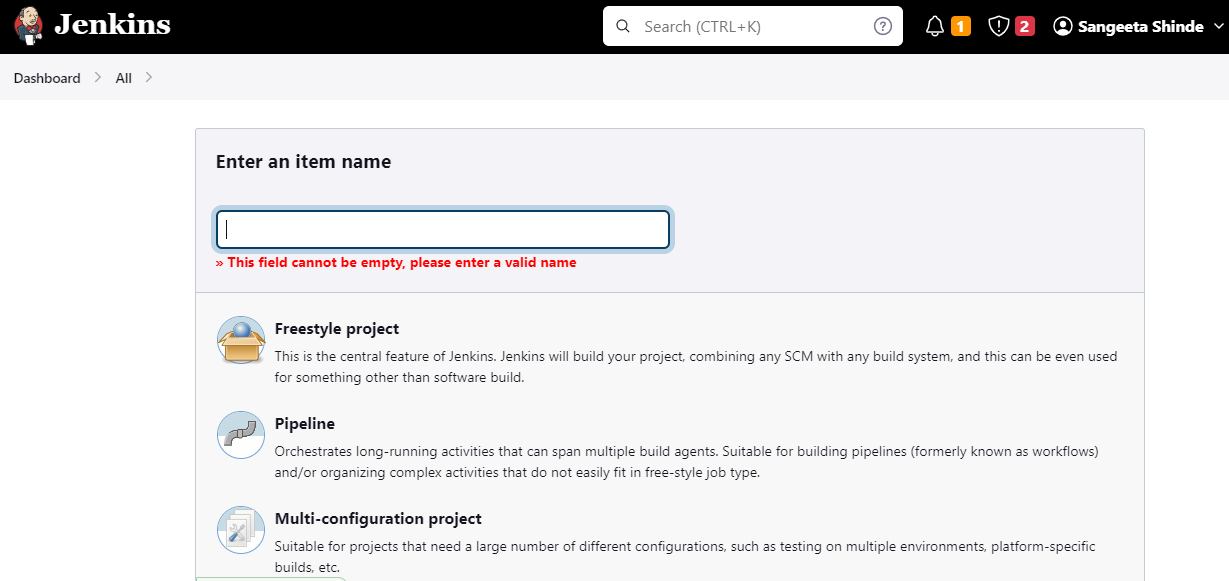
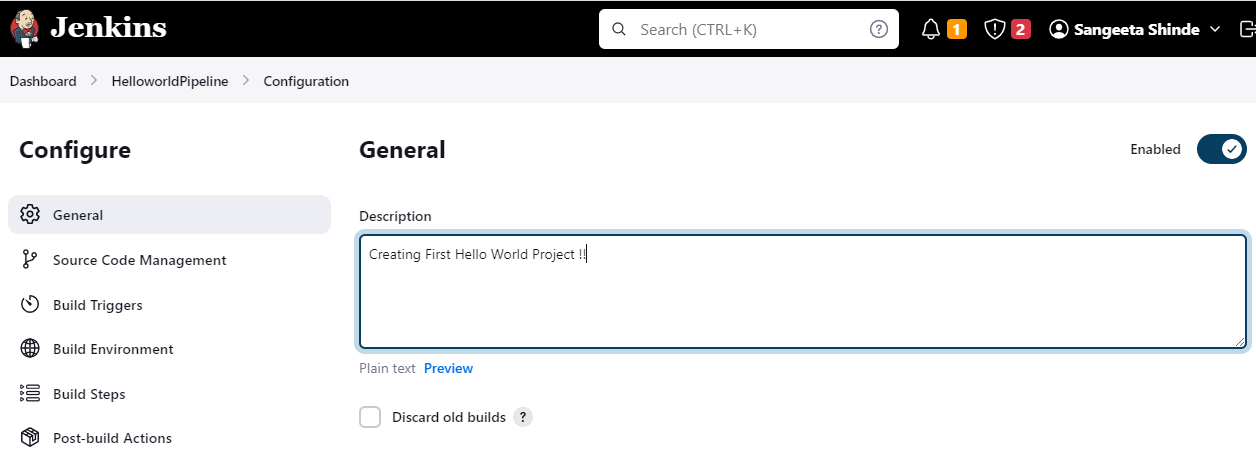
Give your project a name, select "Freestyle project" as the job type and click on the "OK" button

After this, you can give a simple description of this.
In the project configuration page, you can specify the source code management, build triggers, build environment, and build steps

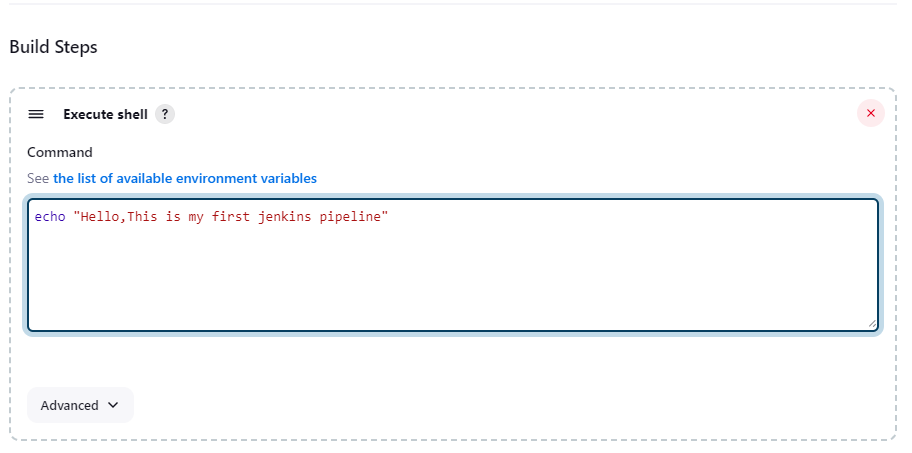
In the build step, you can specify the task you want to perform, such as executing shell commands, running scripts, or building with a specific tool
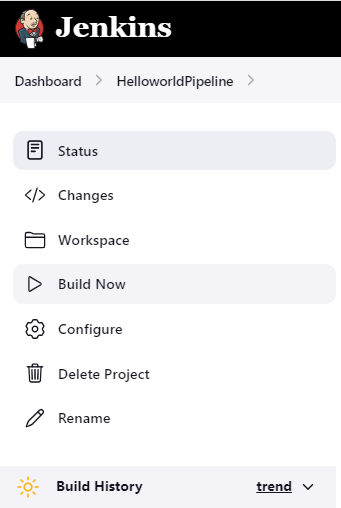
Once you've configured your project, click on the "Save" button to create it
You can now run the project by clicking on the "Build Now" button.
Happy Learning!!!!!!!!!!!


