

Table of contents
Docker-Volume
-Docker volume is simply a directory inside our container.
-First, we have to declare this directory as a volume and then share the volume.
-Even if we stop the container, still we can access volume.
-The volume will be created in one container.
-You can declare a directory as a volume only while creating the container.
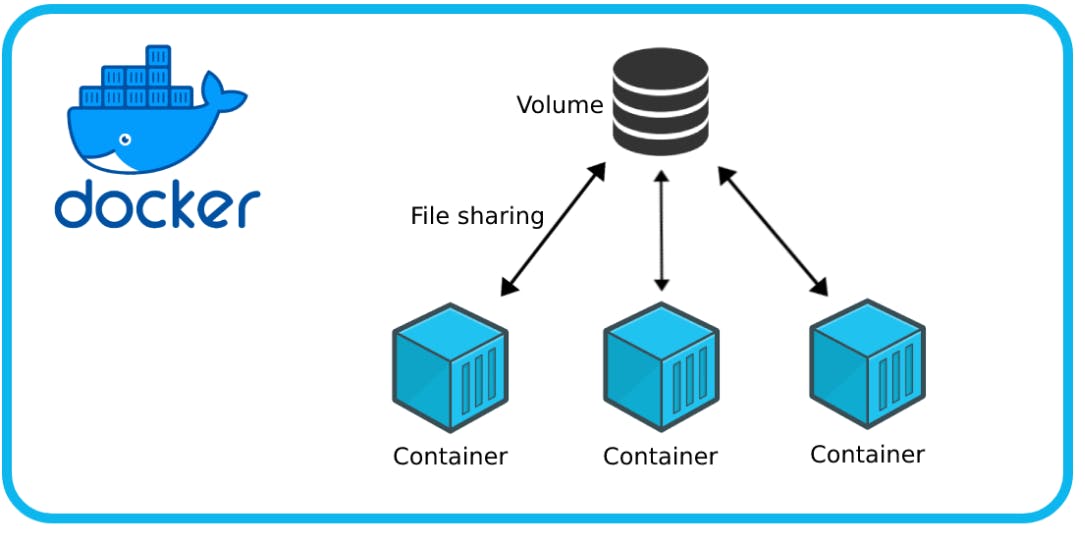
-You can share one volume across any number of containers.
-You can't create volume from the existing container.
-Docker volumes are widely used and useful tools for ensuring data persistence while working in containers.
Benefits of Volume:
-Decoupling container from storage.
-Share volume among different containers.
-Attach the volume to containers.
-On deleting the container, the volume does not delete.
Docker Network
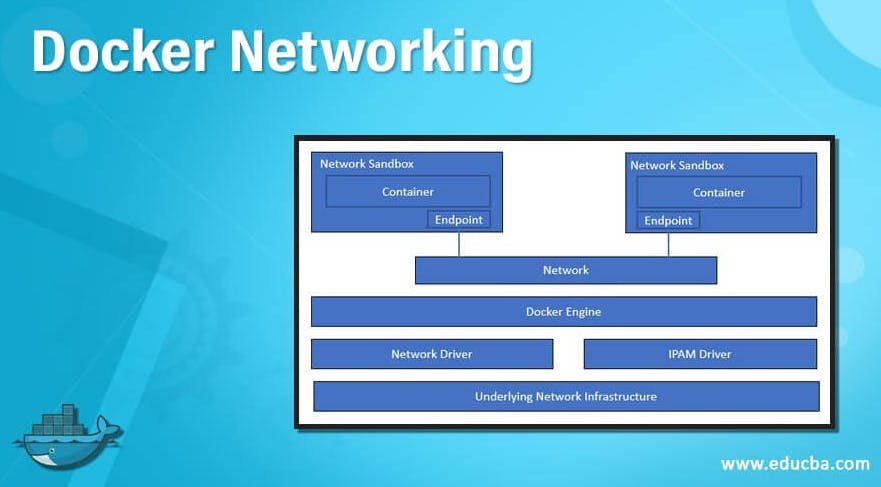
Docker allows you to create virtual spaces called networks, where you can connect multiple containers (small packages that hold all the necessary files for a specific application to run). This way, the containers can communicate with each other and with the host machine (the computer on which the Docker is installed). When we run a container, it has its own storage space that is only accessible by that specific container. If we want to share that storage space with other containers, we can't do that.
Docker includes support for networking containers through the use of network drivers. By default, Docker provides two network drivers for you, the bridge and the overlay drivers.
The most commonly used network drivers are:
· Bridge: This is the default network driver and it creates a virtual network internal to the host. Containers connected to this network can communicate with each other and with the host system.
· Host: This network driver connects a container directly to the host system’s network stack.
· overlay: This network driver allows to create a multi-host network, which allows containers to communicate with each other across multiple Docker hosts.
Each container can be connected to one or more networks. This allows to isolate different groups of containers and control the traffic flow between them.
Task-1:
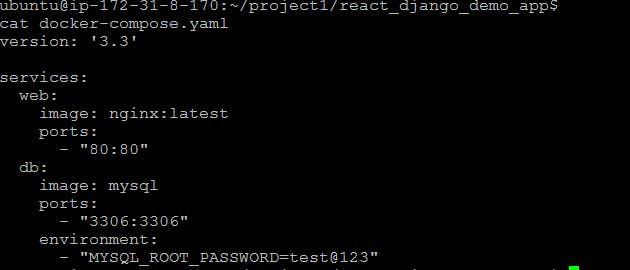
Create a multi-container docker-compose file that will bring UP and bring DOWN containers in a single shot ( Example - Create application and database container )

We have to modify the docker-compose file
Use the
docker-compose upcommand with the-dflag to start a multi-container application in detached mode.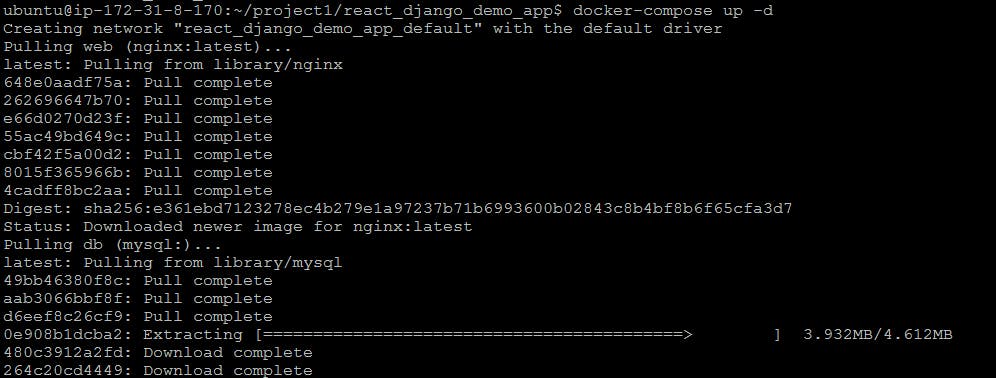

Use the
docker-compose scalecommand to increase or decrease the number of replicas for a specific service. You can also addreplicasin the deployment file for auto-scaling.

Use the
docker-compose pscommand to view the status of all containers, anddocker-compose logsto view the logs of a specific service.
Use the
docker-compose downcommand to stop and remove all containers, networks, and volumes associated with the application
Task-2:
Learn how to use Docker Volumes and Named Volumes to share files and directories between multiple containers
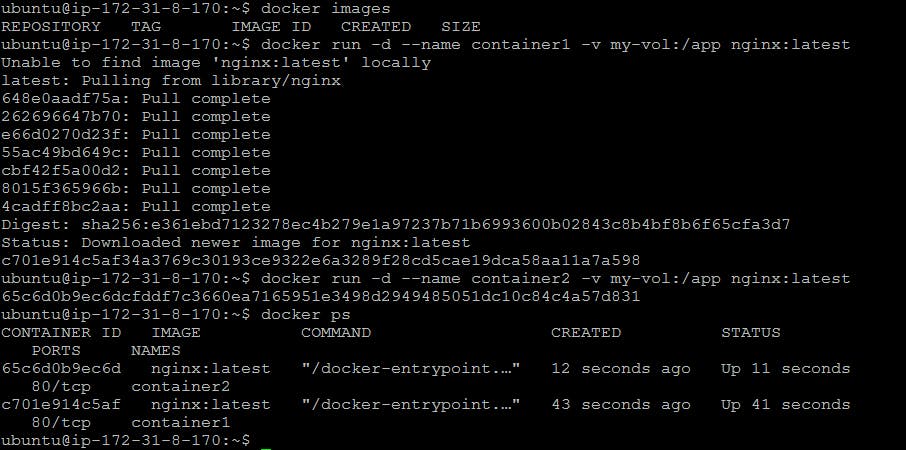
First, create a volume.
$docker volume create my-vol

Now we need to create a different container using the same volume
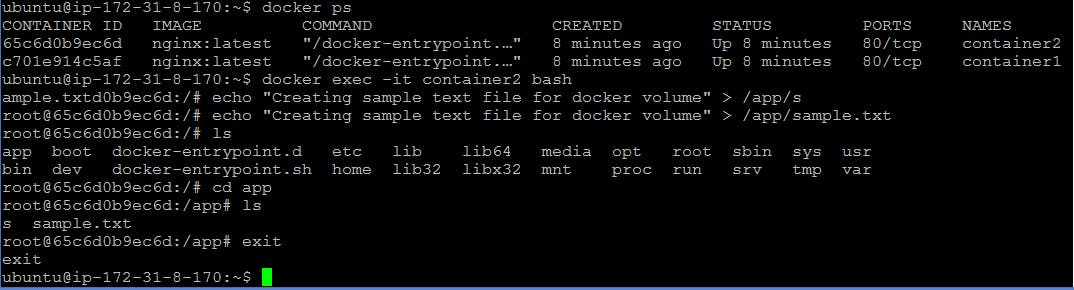
Verify that the data is the same in all containers by using the docker exec command to run commands inside each container.

Create two or more containers that read and write data to the same volume using the docker run --mount command.
Now we are creating a container using --mount and the same volume

Now we need to go to the myapp container and need to create a text file and exit


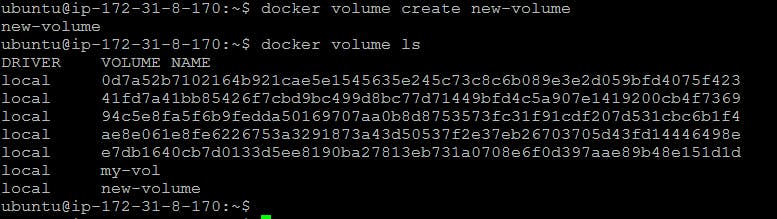
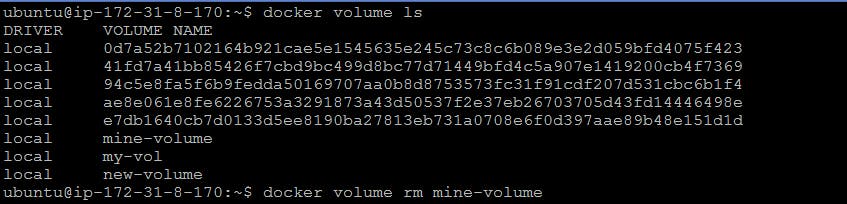
Use the docker volume ls command to list all volumes and the docker volume rm command to remove the volume when you're done.
Thank you for Reading!!!!!!